Colour from the spectrum
Your photo is turned back into light, exposed onto the film’s three dye layers, printed onto paper and scanned. Colours shift the way they did on the real stock, because the same thing happens to them.
NEGS ▸ BROWSER ▸ MAC ▸ WINDOWS ▸ LINUX
Negs runs your pictures through a physical simulation of film: the dyes, the print paper, the glow around highlights, the grain. Open a photo right here in your browser and watch it change.
Also a desktop app for Mac, Windows and Linux.
Based on spektrafilm by Andrea Volpato ▸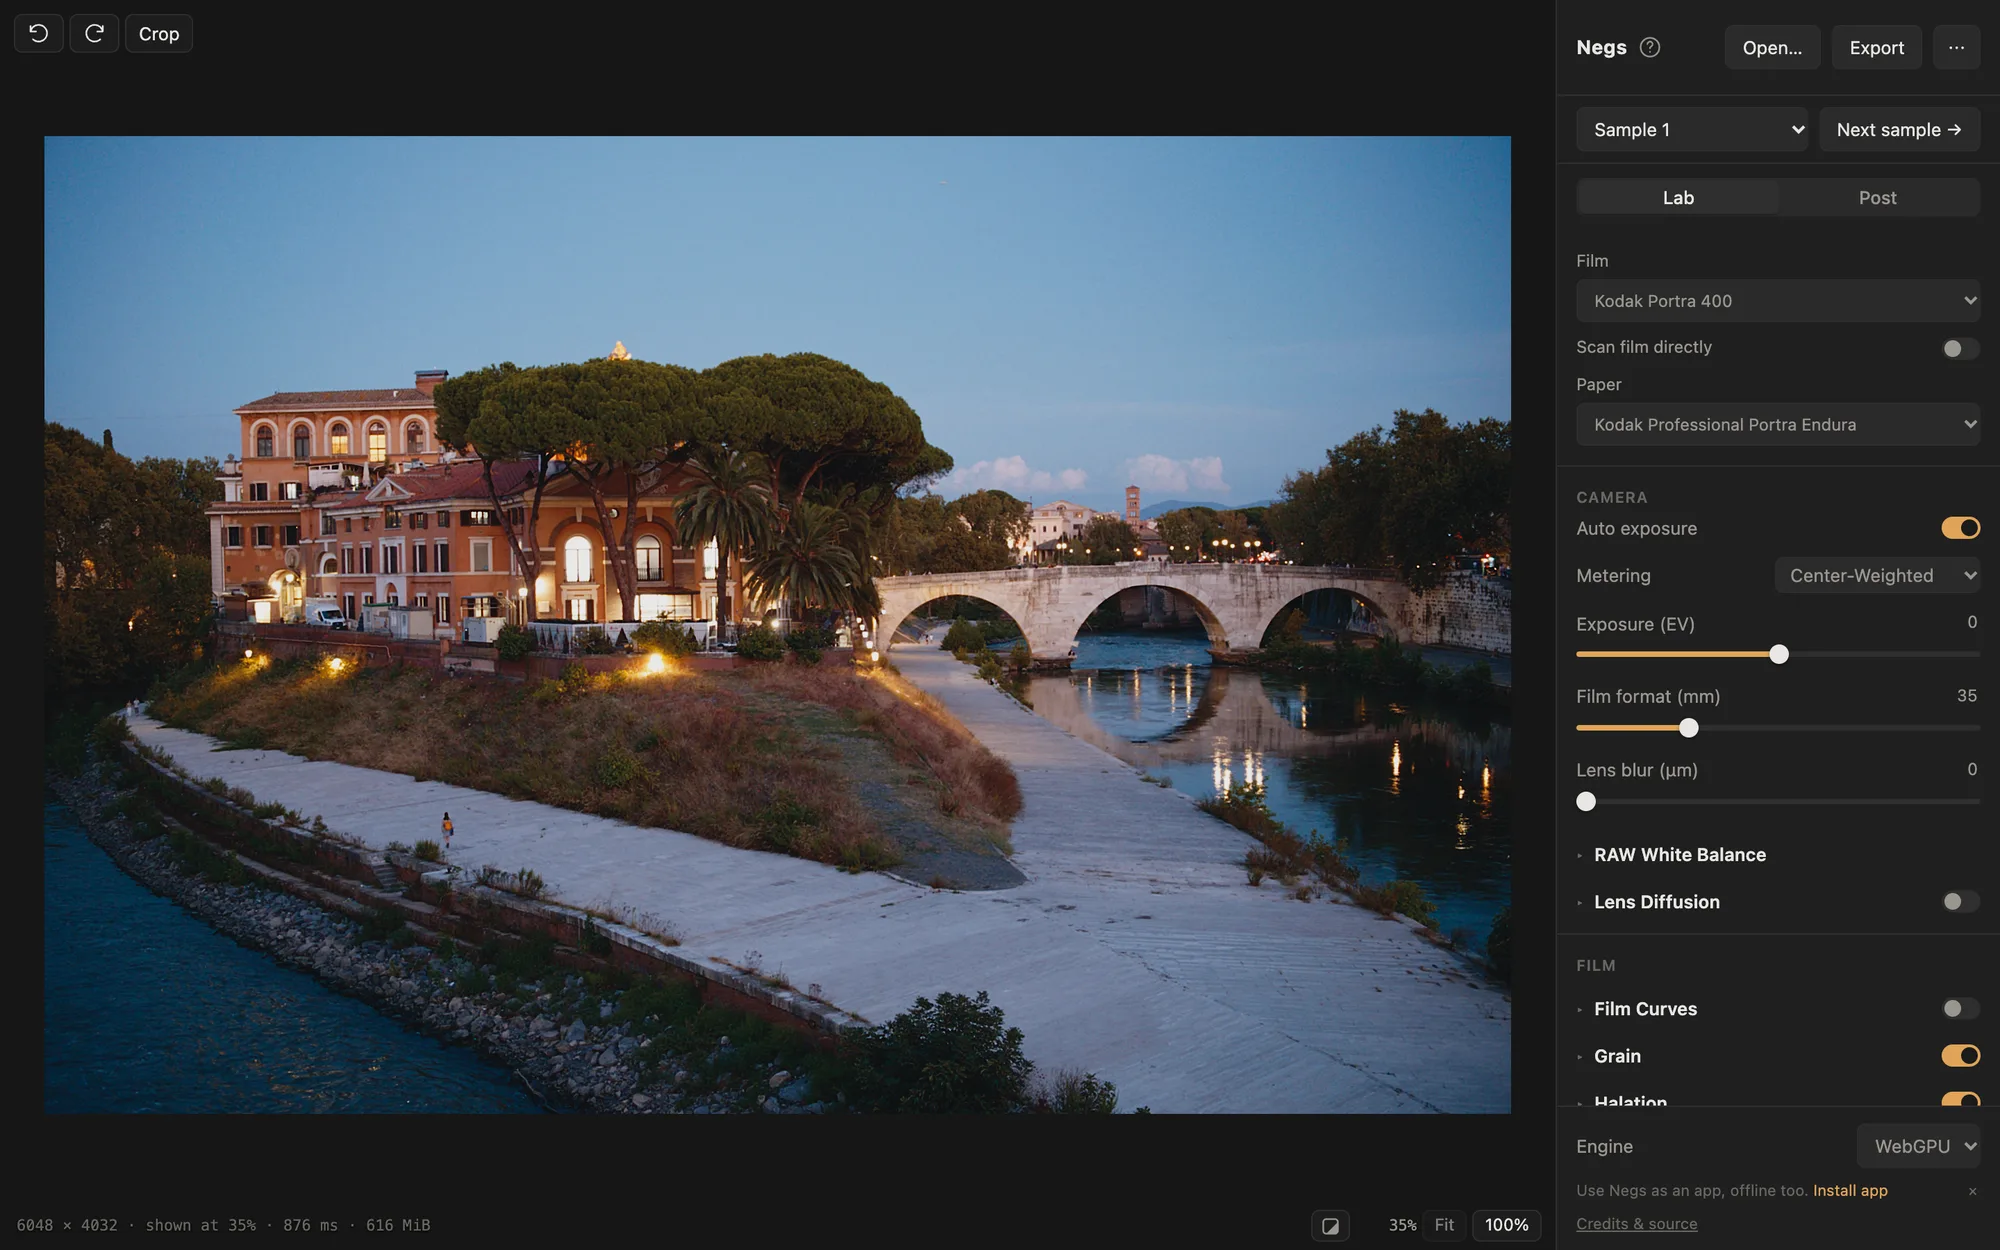
02 ▸ BEFORE / AFTER
 RAW · Apple default
Negs · Portra 400
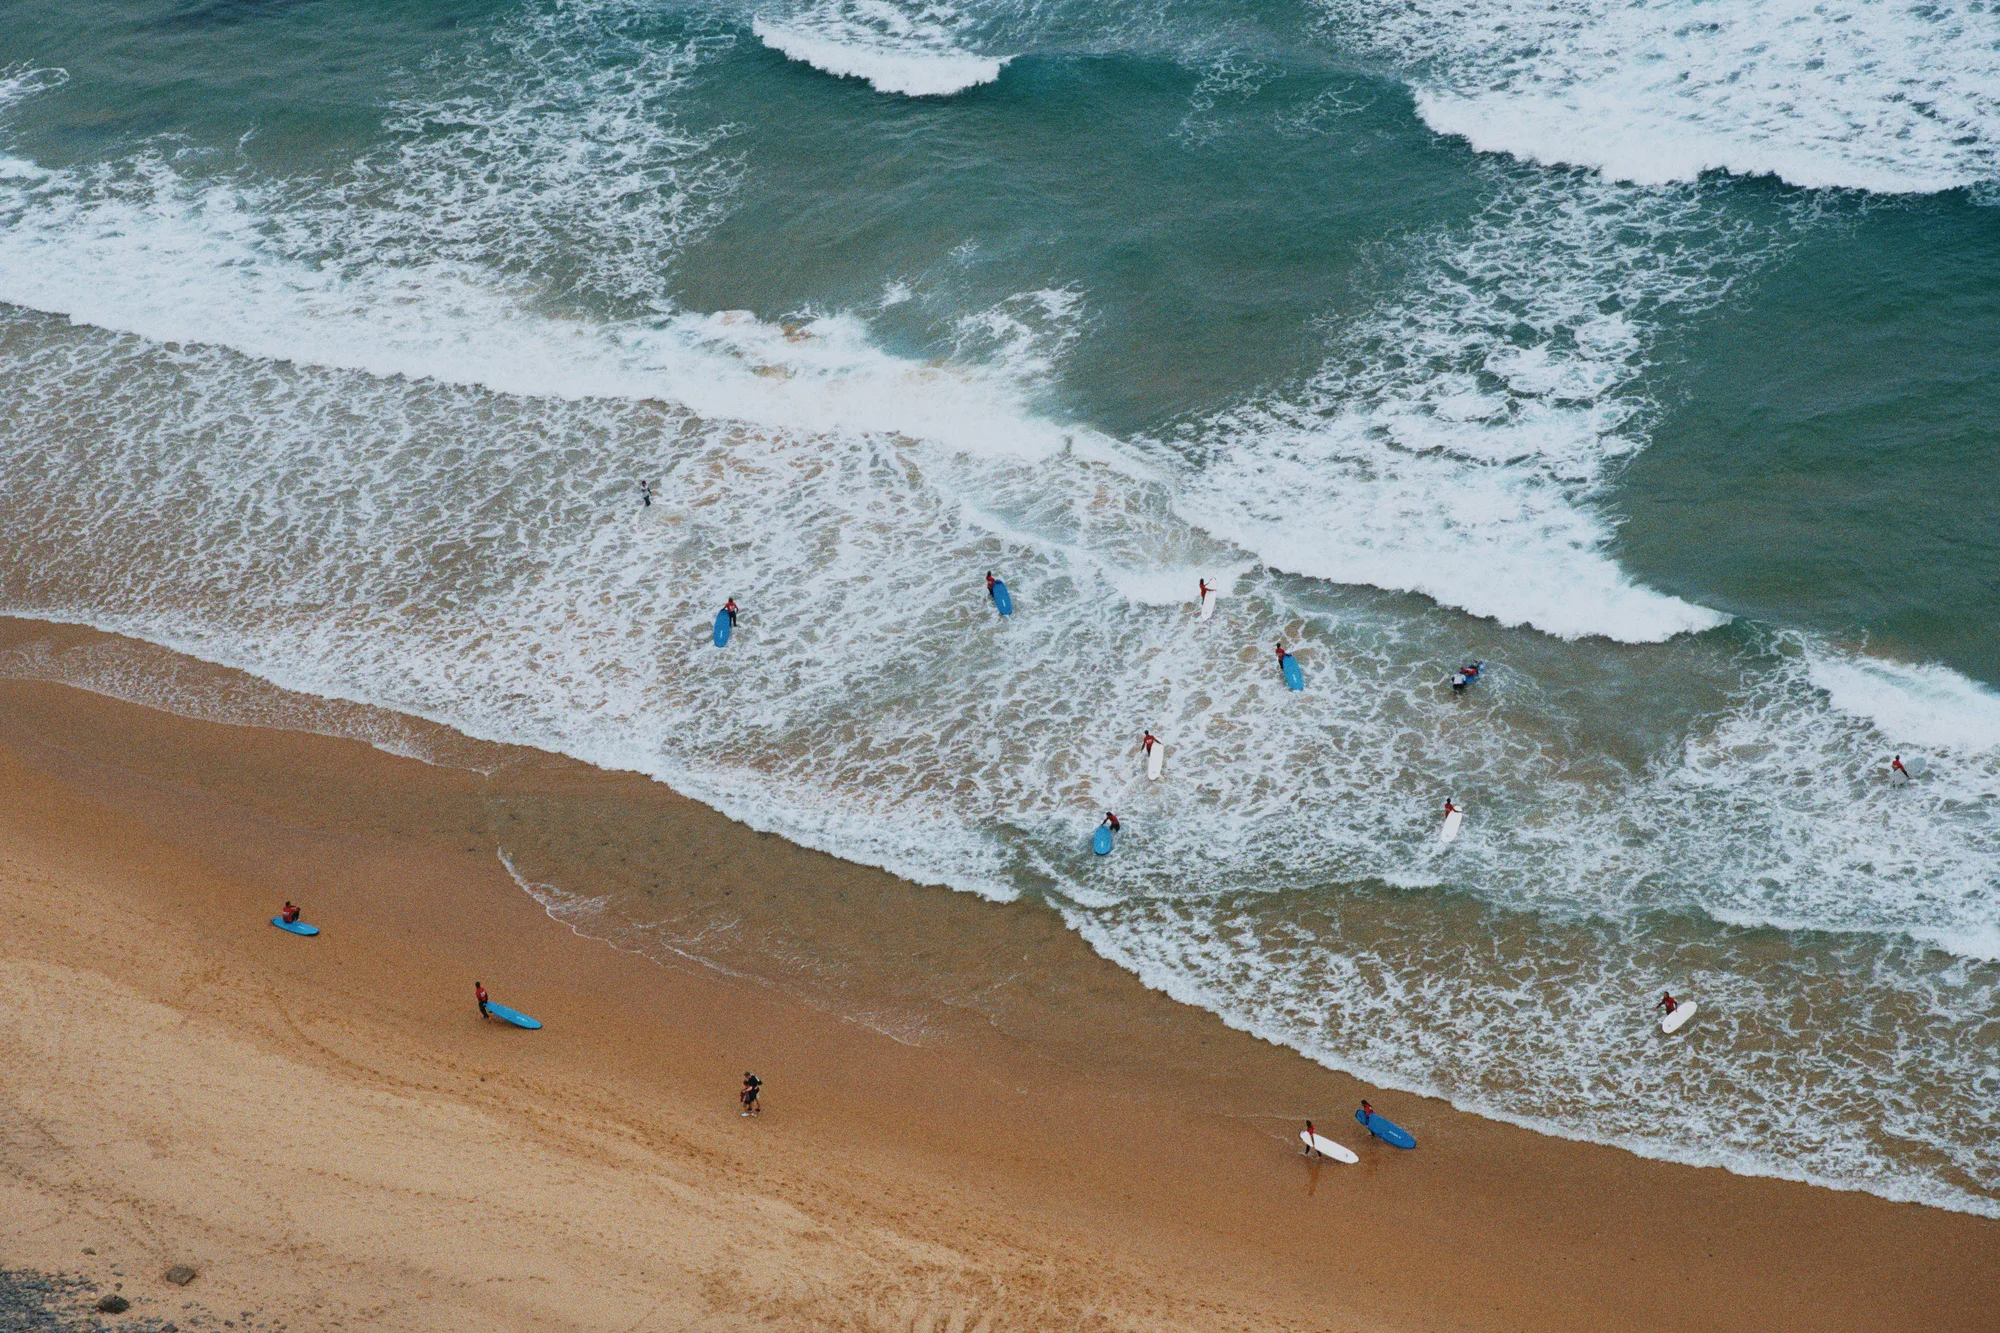
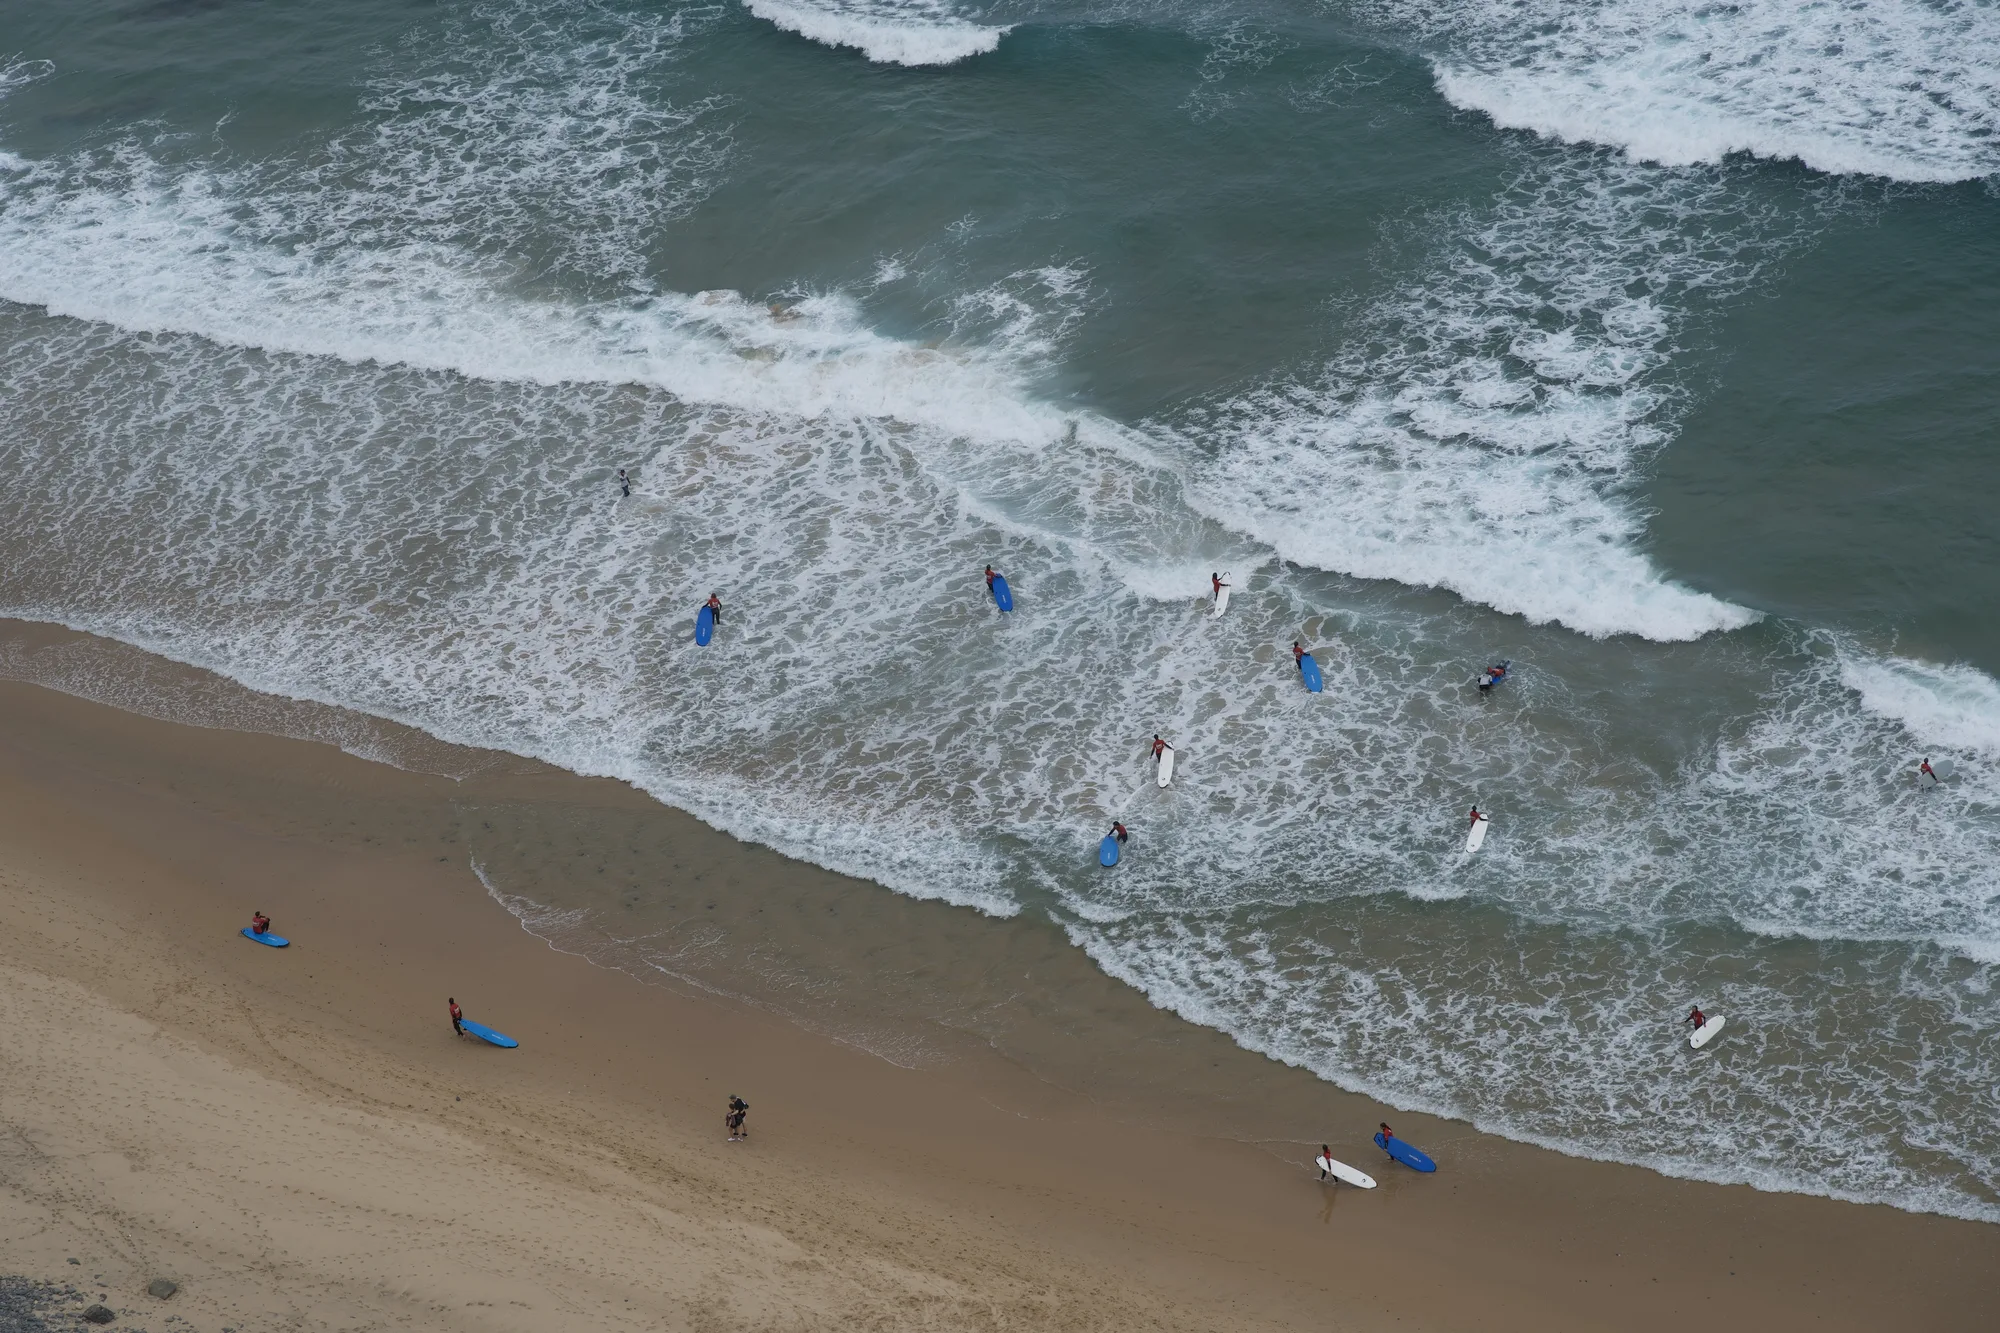
Drag to compare. Surfers from above: the RAW as macOS shows it on the left, Negs with Kodak Portra 400 on the right.
03 ▸ THE APP
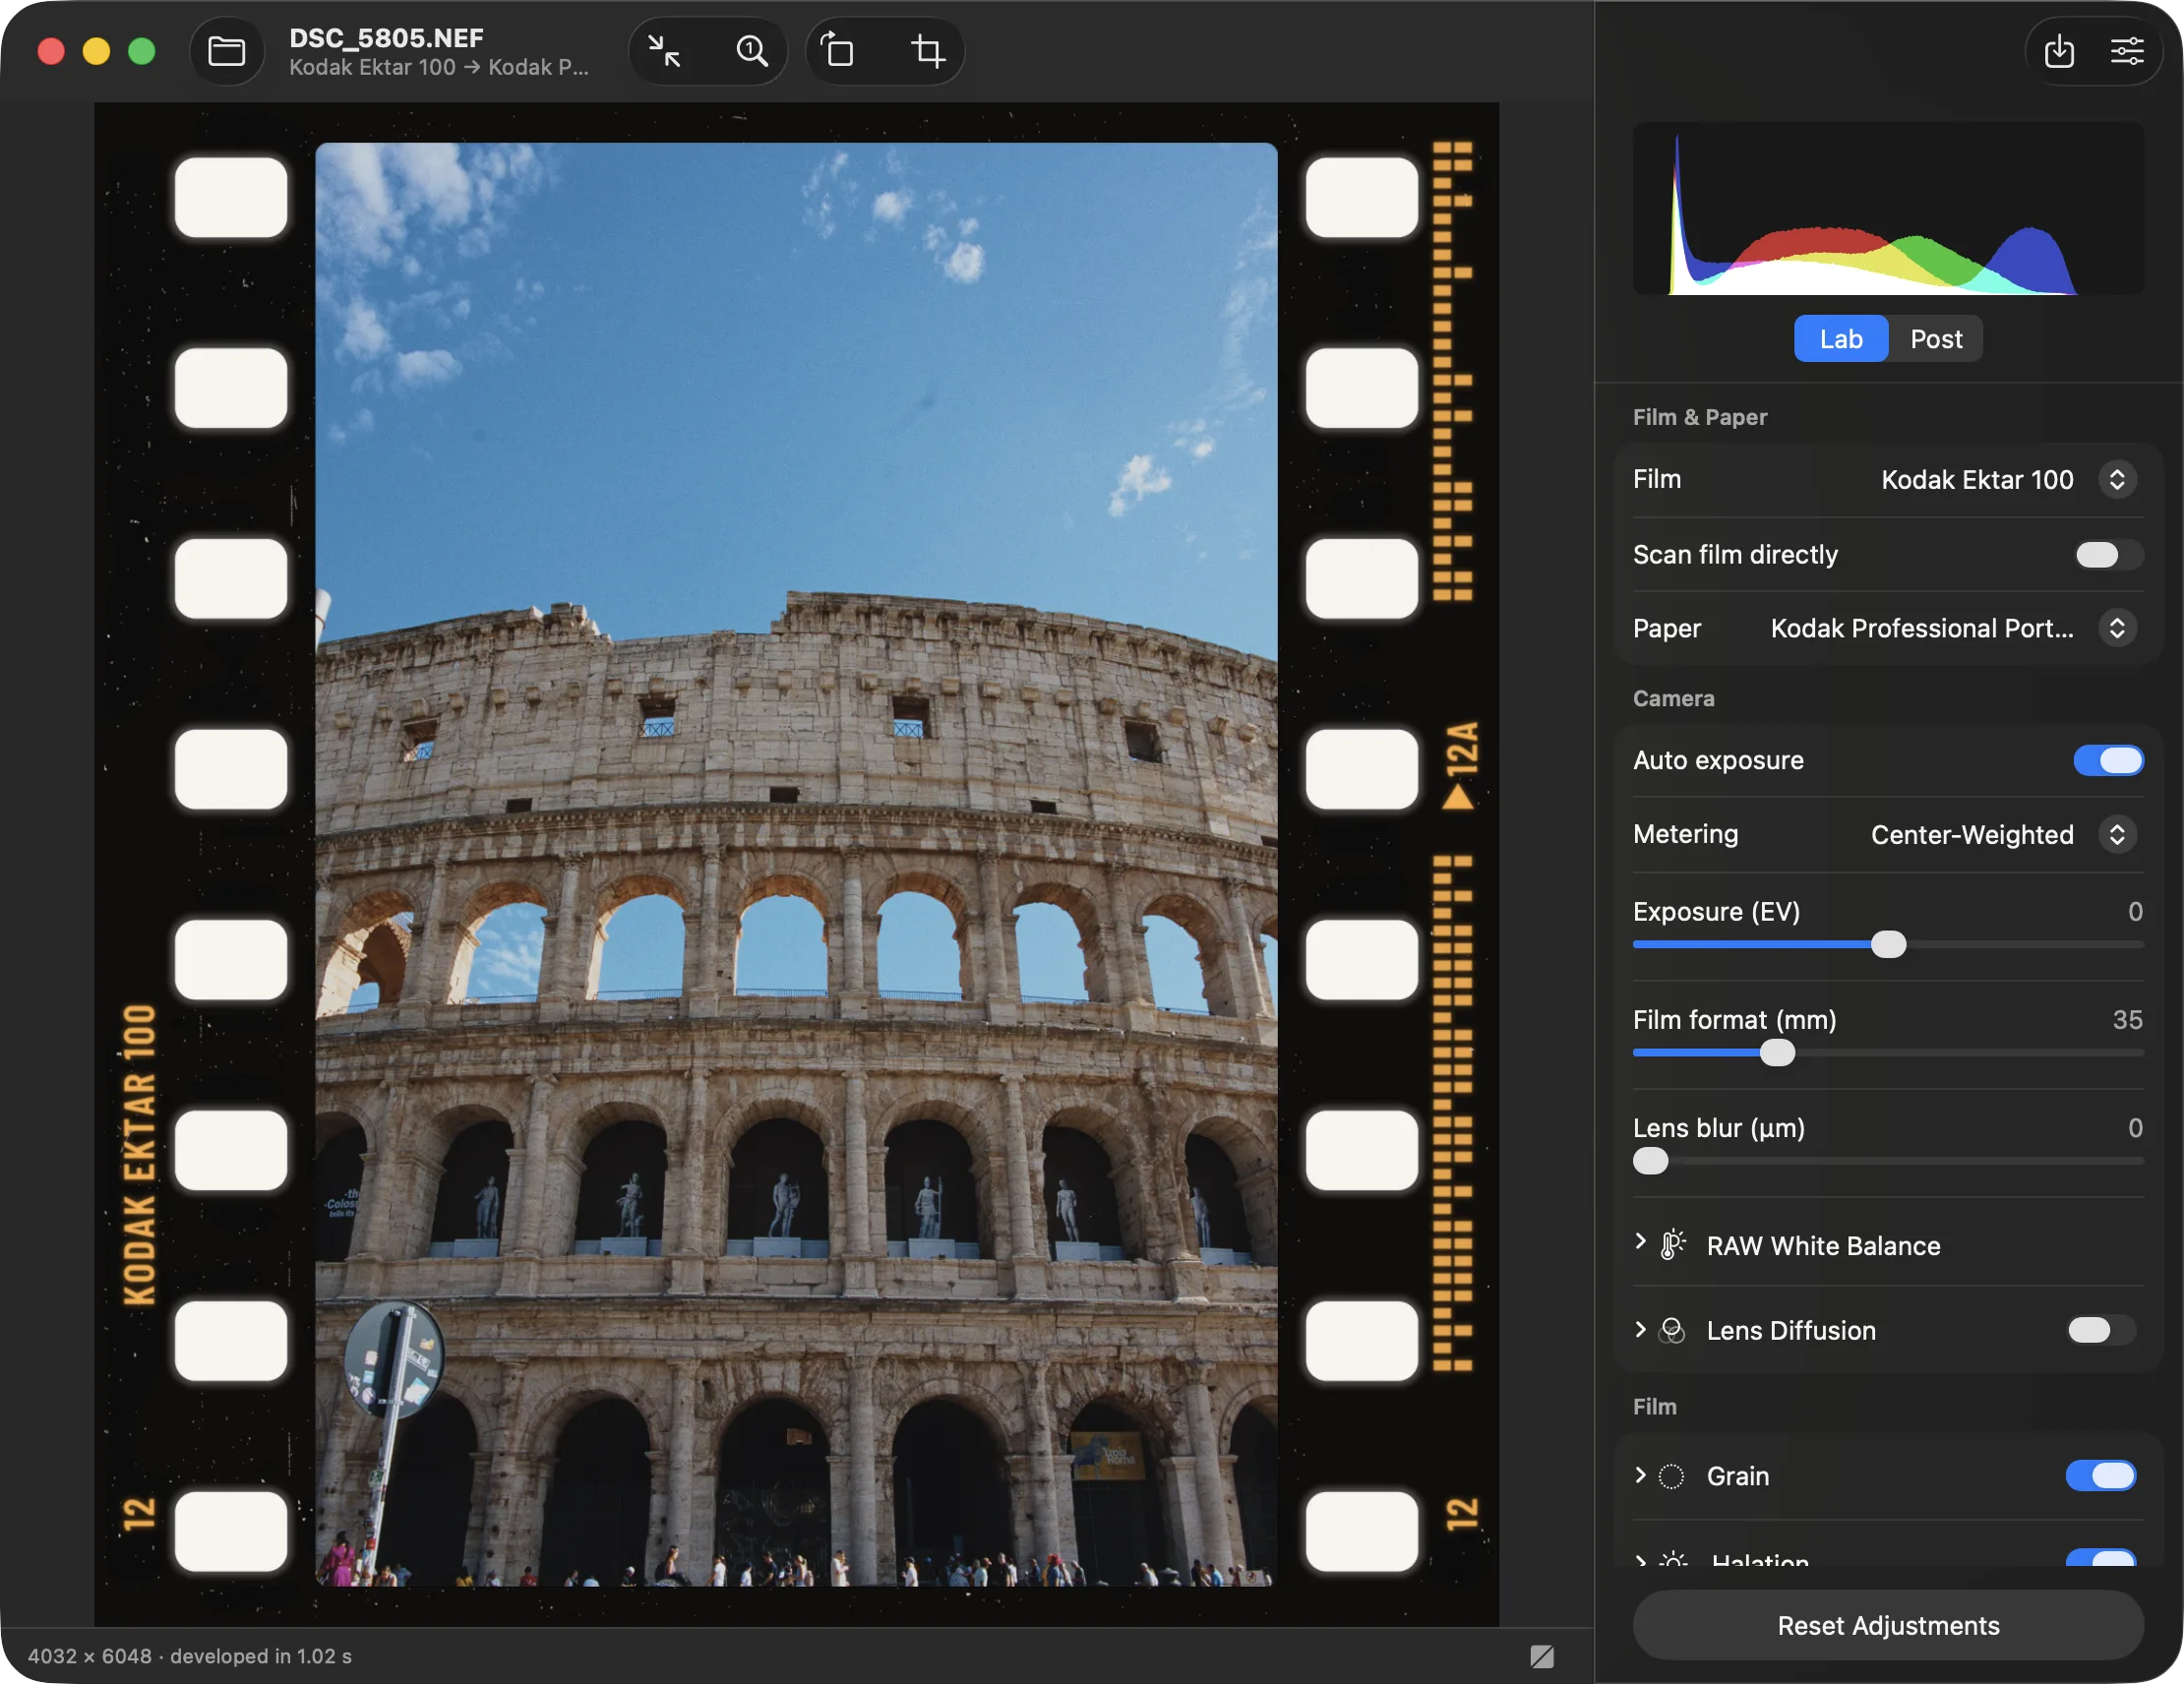
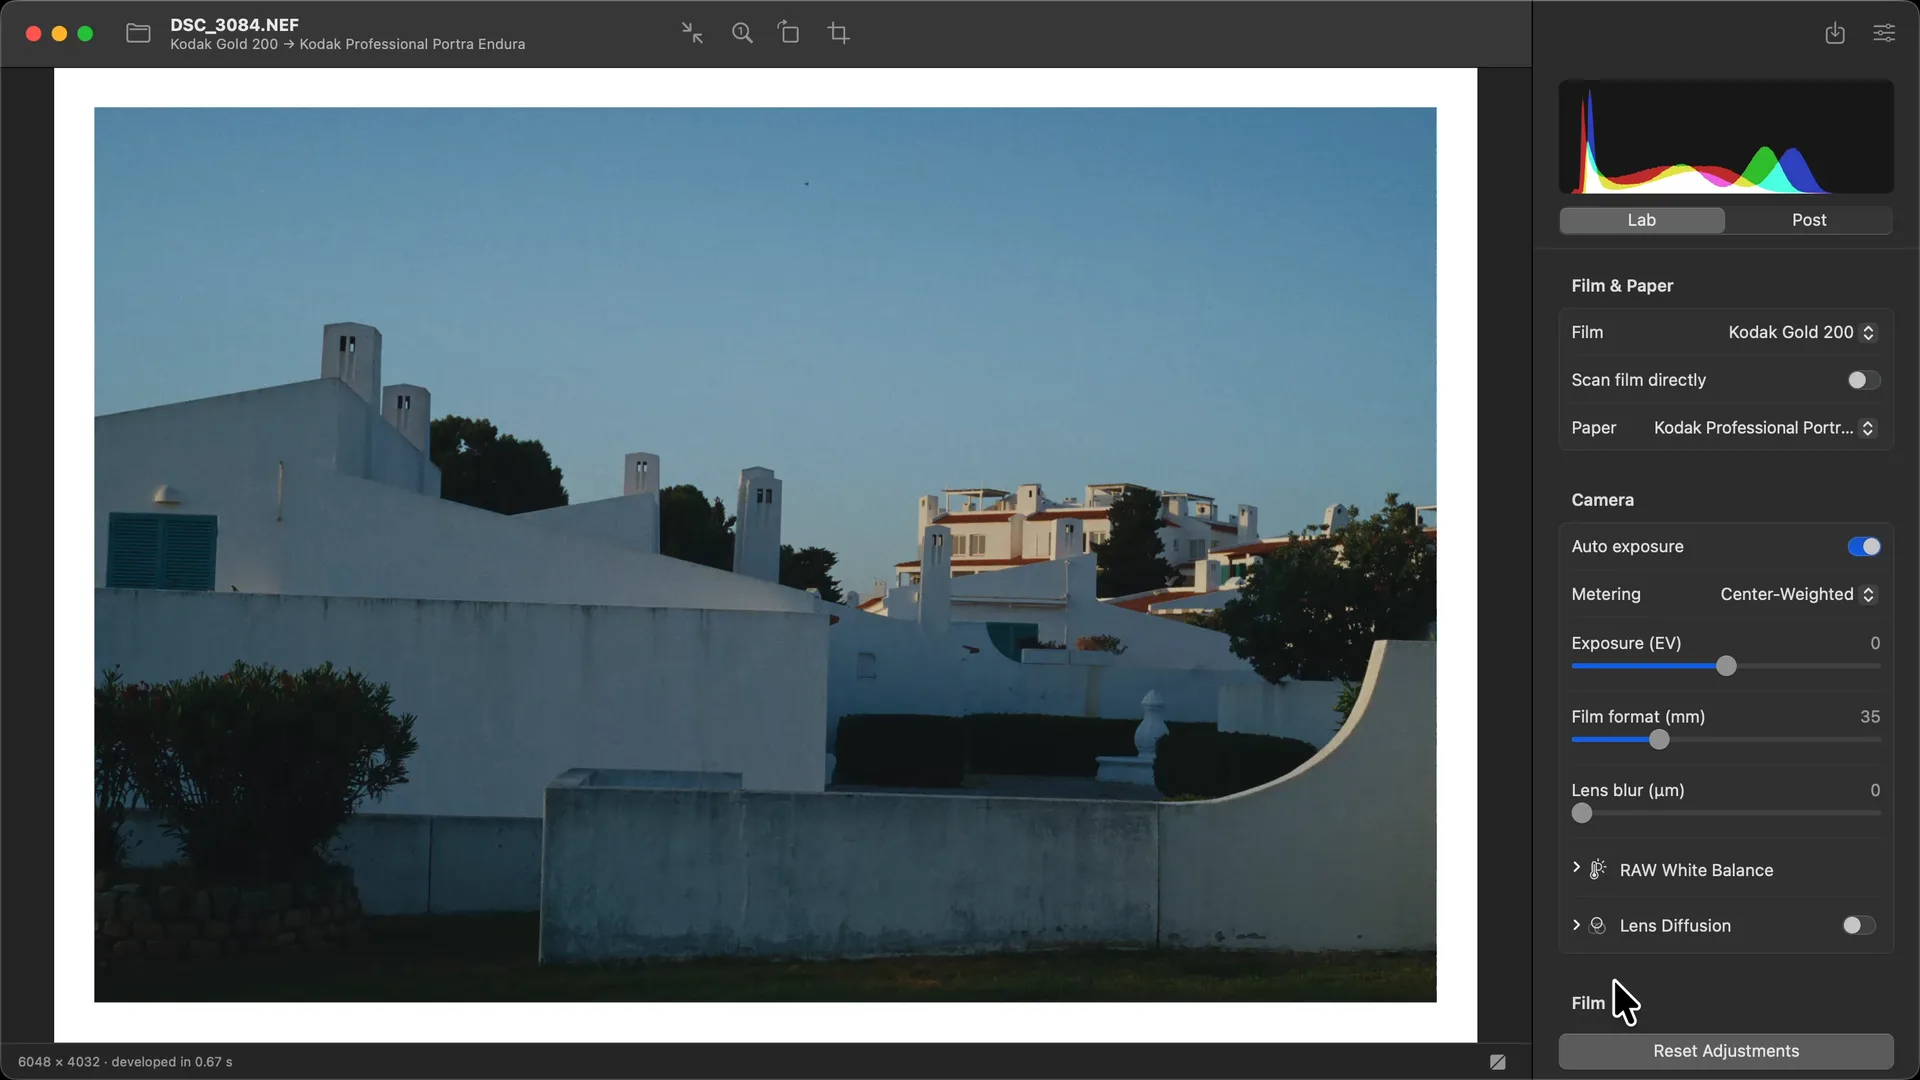
In your browser, or as a native app on Mac, Windows and Linux. Pick a film, pick a paper, drag a slider, and watch the picture change as you move.
04 ▸ THE FILM
Negs doesn’t guess what film looks like. It follows the light through the whole chain (film, enlarger, paper, scanner) using the published data for each stock.
Your photo is turned back into light, exposed onto the film’s three dye layers, printed onto paper and scanned. Colours shift the way they did on the real stock, because the same thing happens to them.
Bright lights bleed a warm red glow, the way light bounces back through real film. Street lamps, sun on chrome, candle flames.
Grain is simulated in each dye layer from how dense the film is at that spot. It sits inside the picture instead of being laid on top.
Development chemistry sharpens edges and deepens colour where tones meet, giving the crispness film has and digital lacks.
Choose the print paper too. The paper changes the look as much as the film does, just like in a real lab.
Print the negative onto paper for the classic lab look, or skip the paper and scan the film directly.
05 ▸ BORDERS
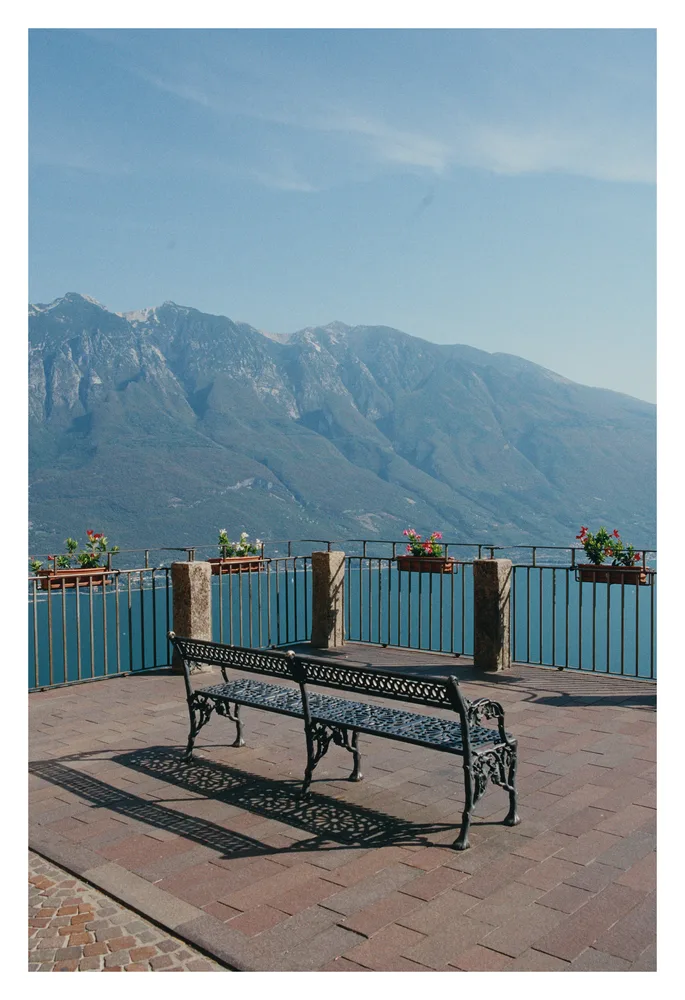
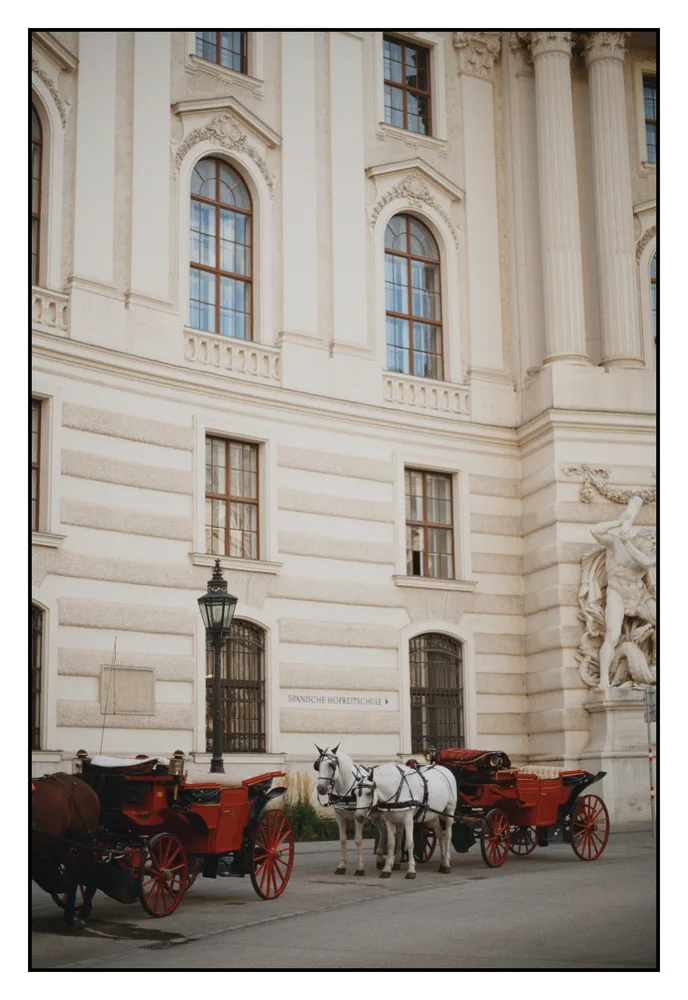
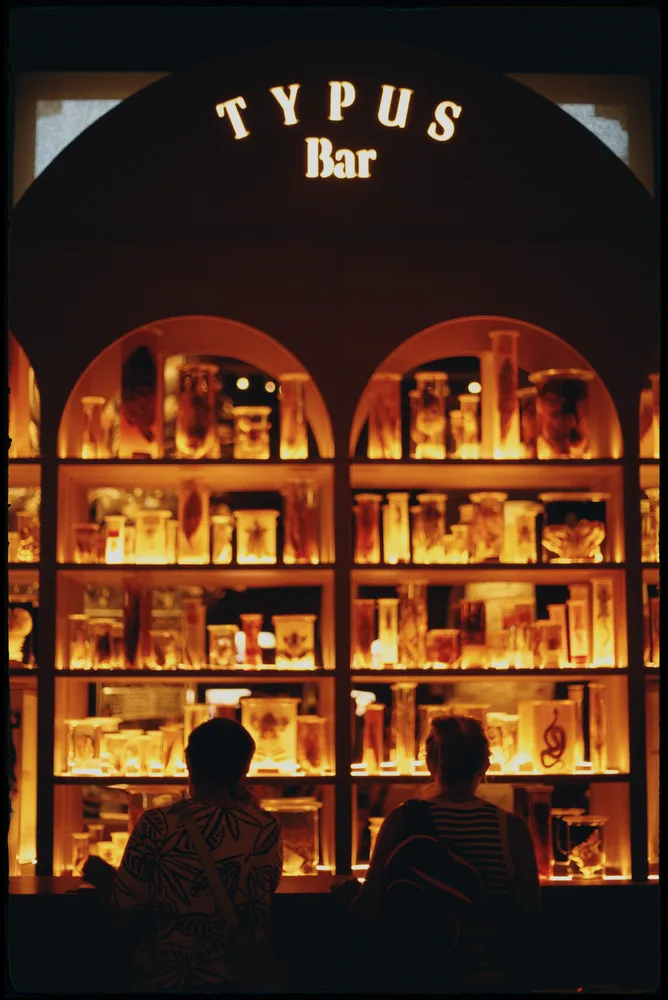
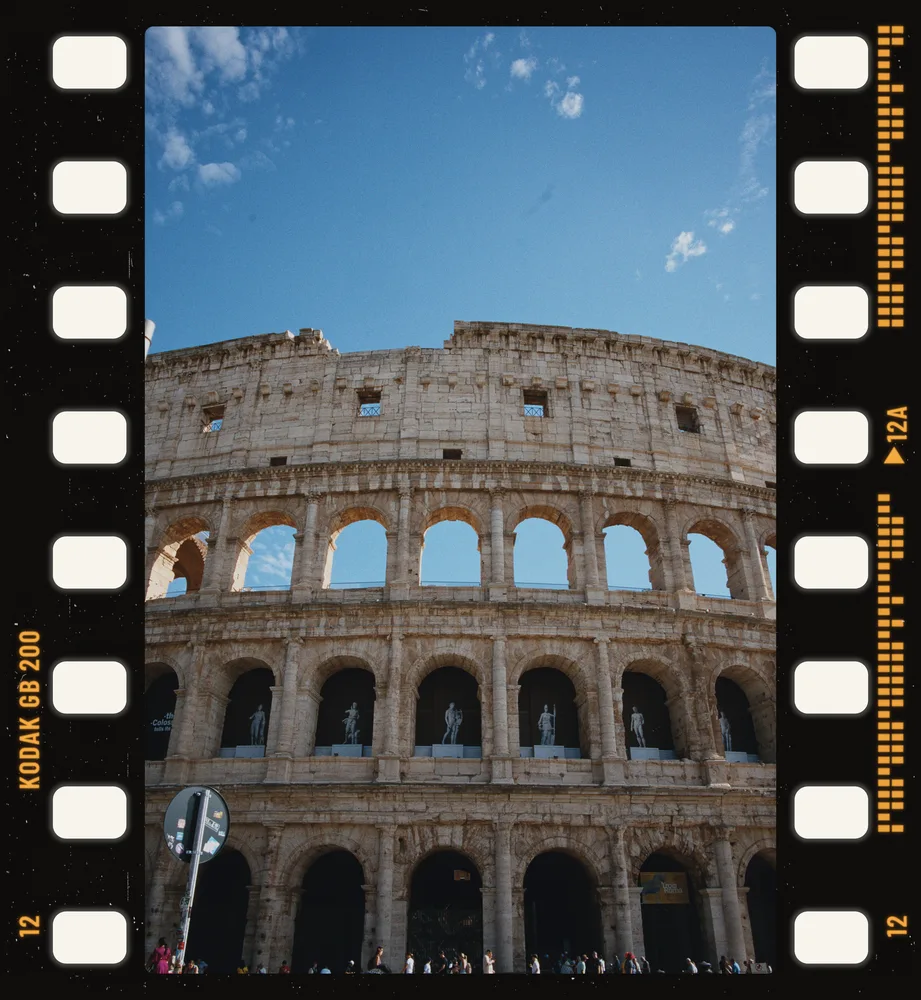
Finish with a clean white border, a thin keyline, a black film edge, or the full 35mm frame, sprocket holes and all, printed with the stock’s own edge markings.
06 ▸ SPEED
Drag a slider and the photo follows your hand: while you move, Negs develops only the pixels on your screen. Let go, and your GPU develops the whole photo at full resolution, grain and halation at their true size. That’s the frame you export, so Export is instant.
Every slider moves the picture as you drag, at the size your screen shows it.
Under a second for 24 megapixels, about two seconds for 60.
Export writes the frame you’re looking at. No waiting.
A Leica Q3 photo developed at full resolution on Kodak Gold 200 and Portra Endura, on a MacBook Pro with an M1 Pro and 32 GB. Times are the develop alone, without opening or saving the file; memory is the most each program used. Negs and spektrafilm-rs on the GPU; Python has no GPU path. At 24 MP: 0.9 s and 2.1 GB, against 1.3 s and 3.6 GB for spektrafilm-rs and 43 s and 13.7 GB for Python. All benchmarks, including the 64-bit Reference export and its Use less memory option.
07 ▸ STOCKS
Kodak, Fujifilm and Ilford stock names are trademarks of their owners. Negs is not affiliated with them.
08 ▸ IN MOTION
09 ▸ WHY NOT A LUT
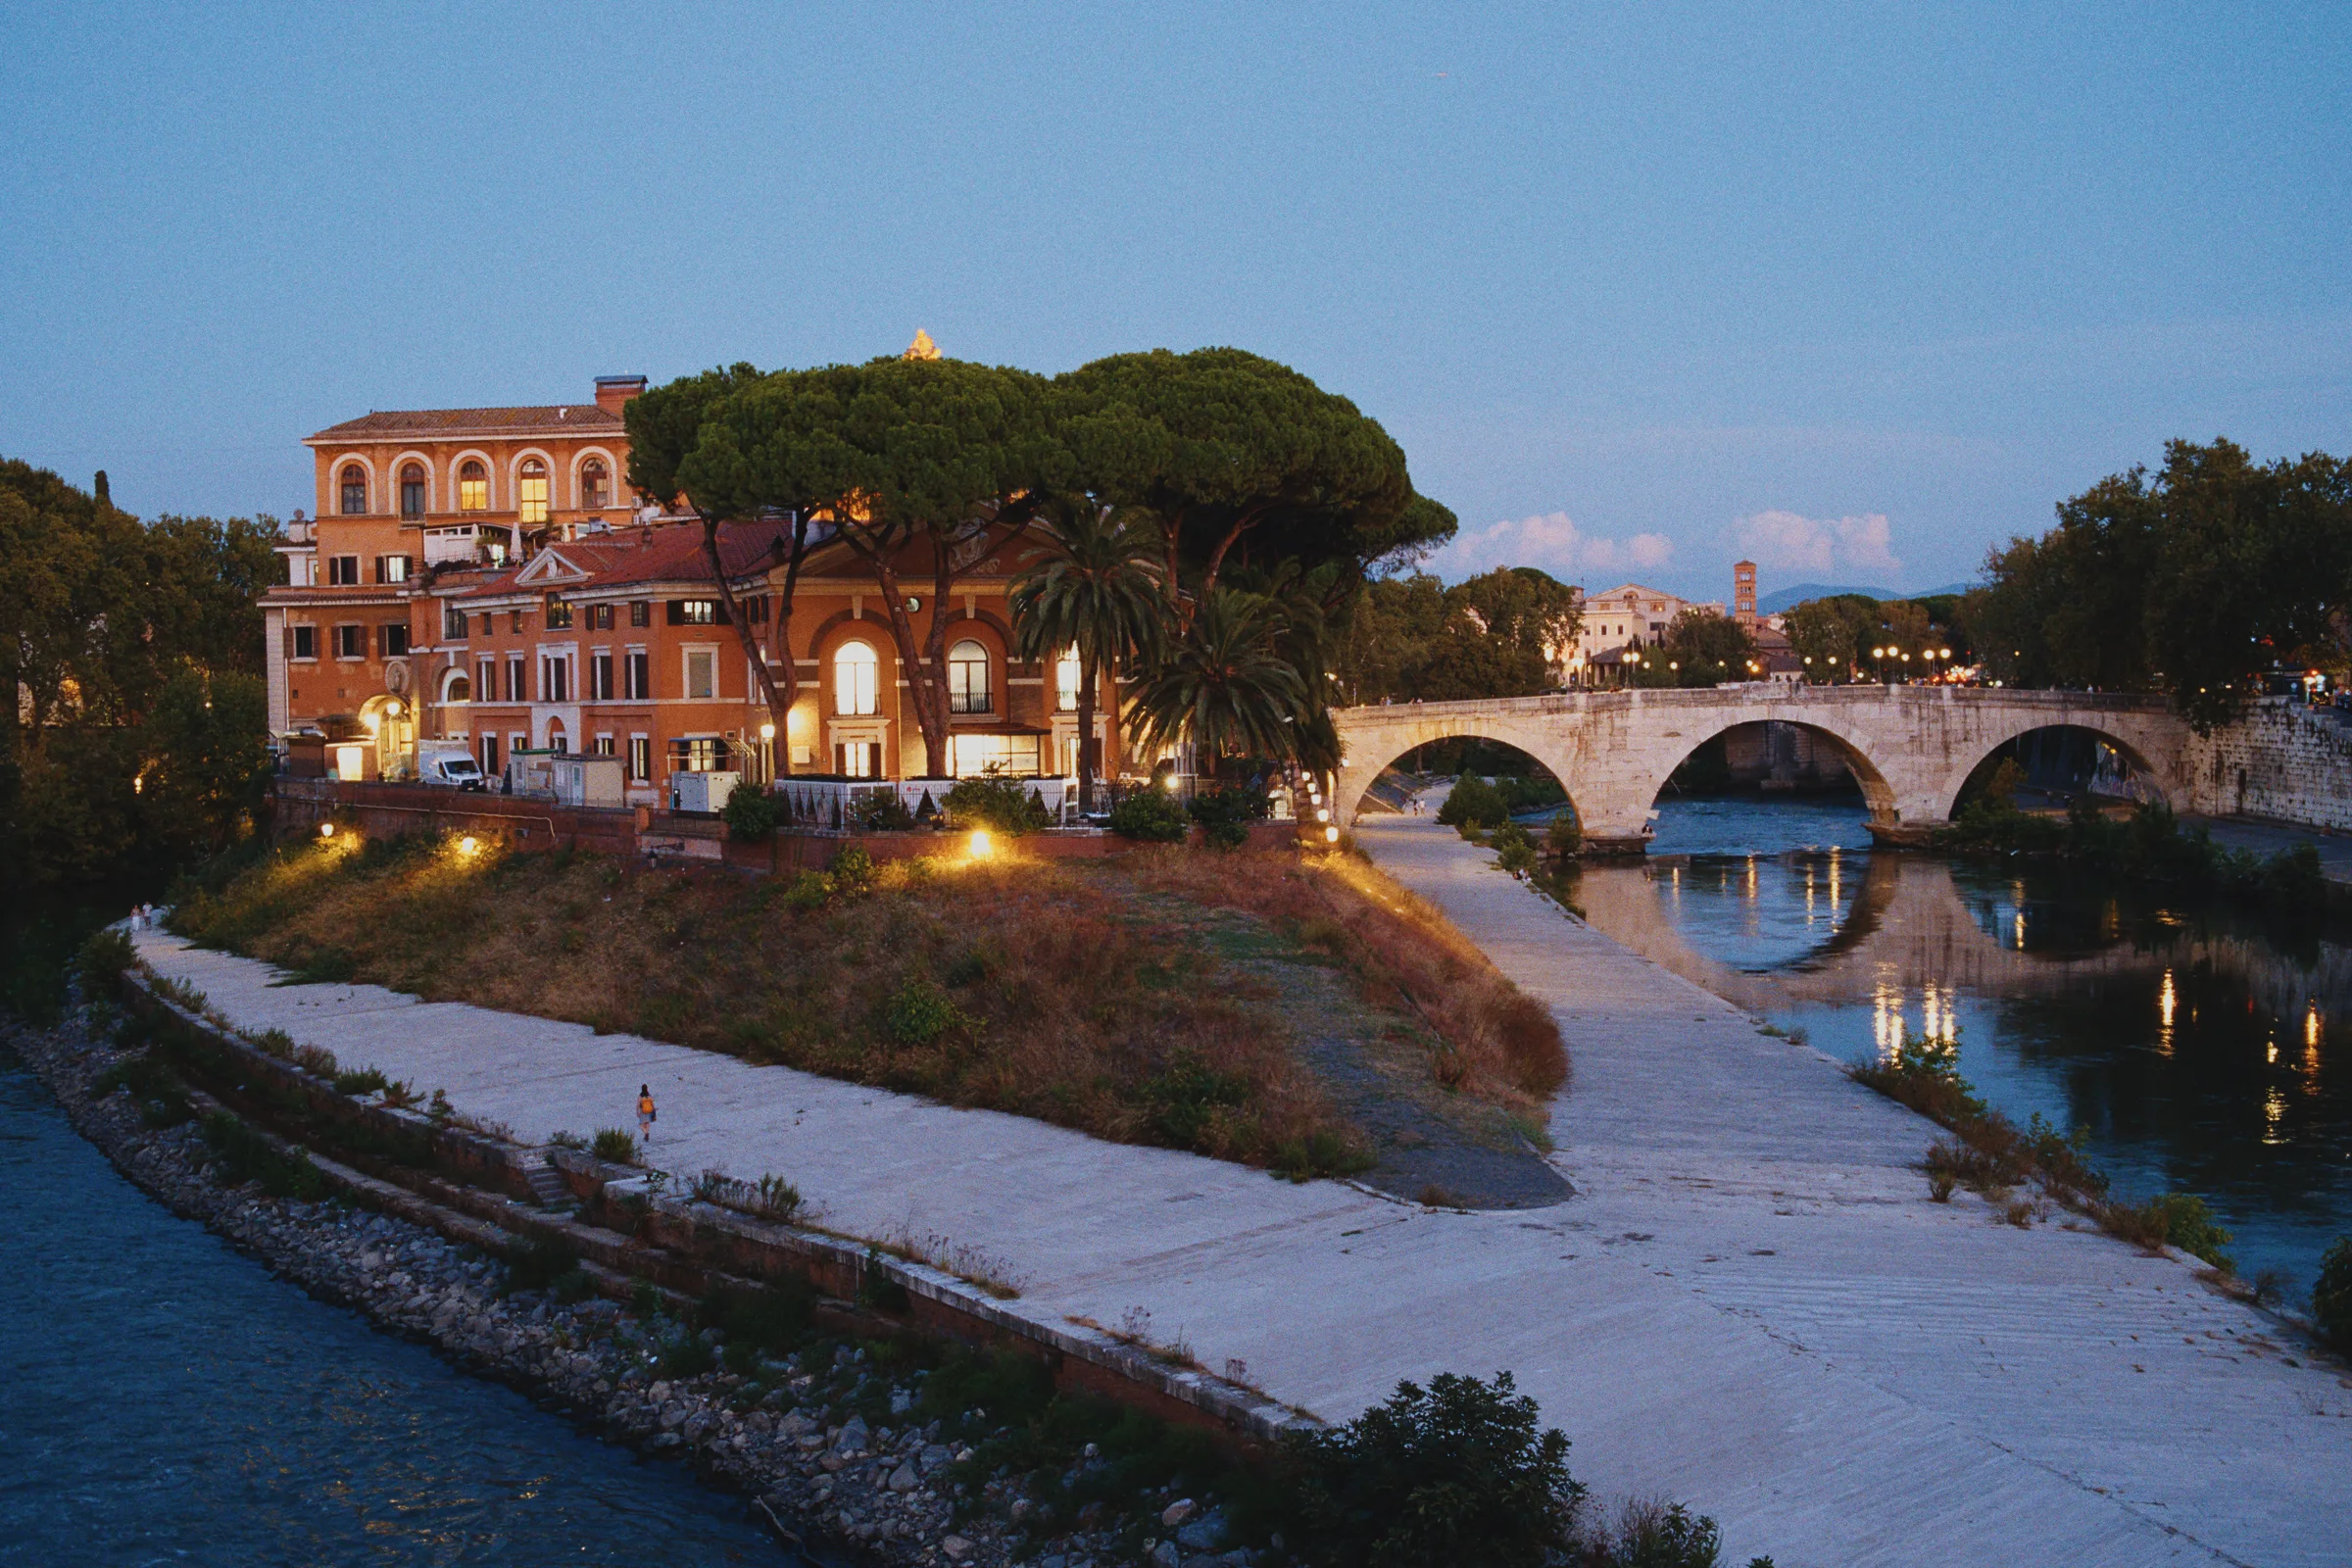
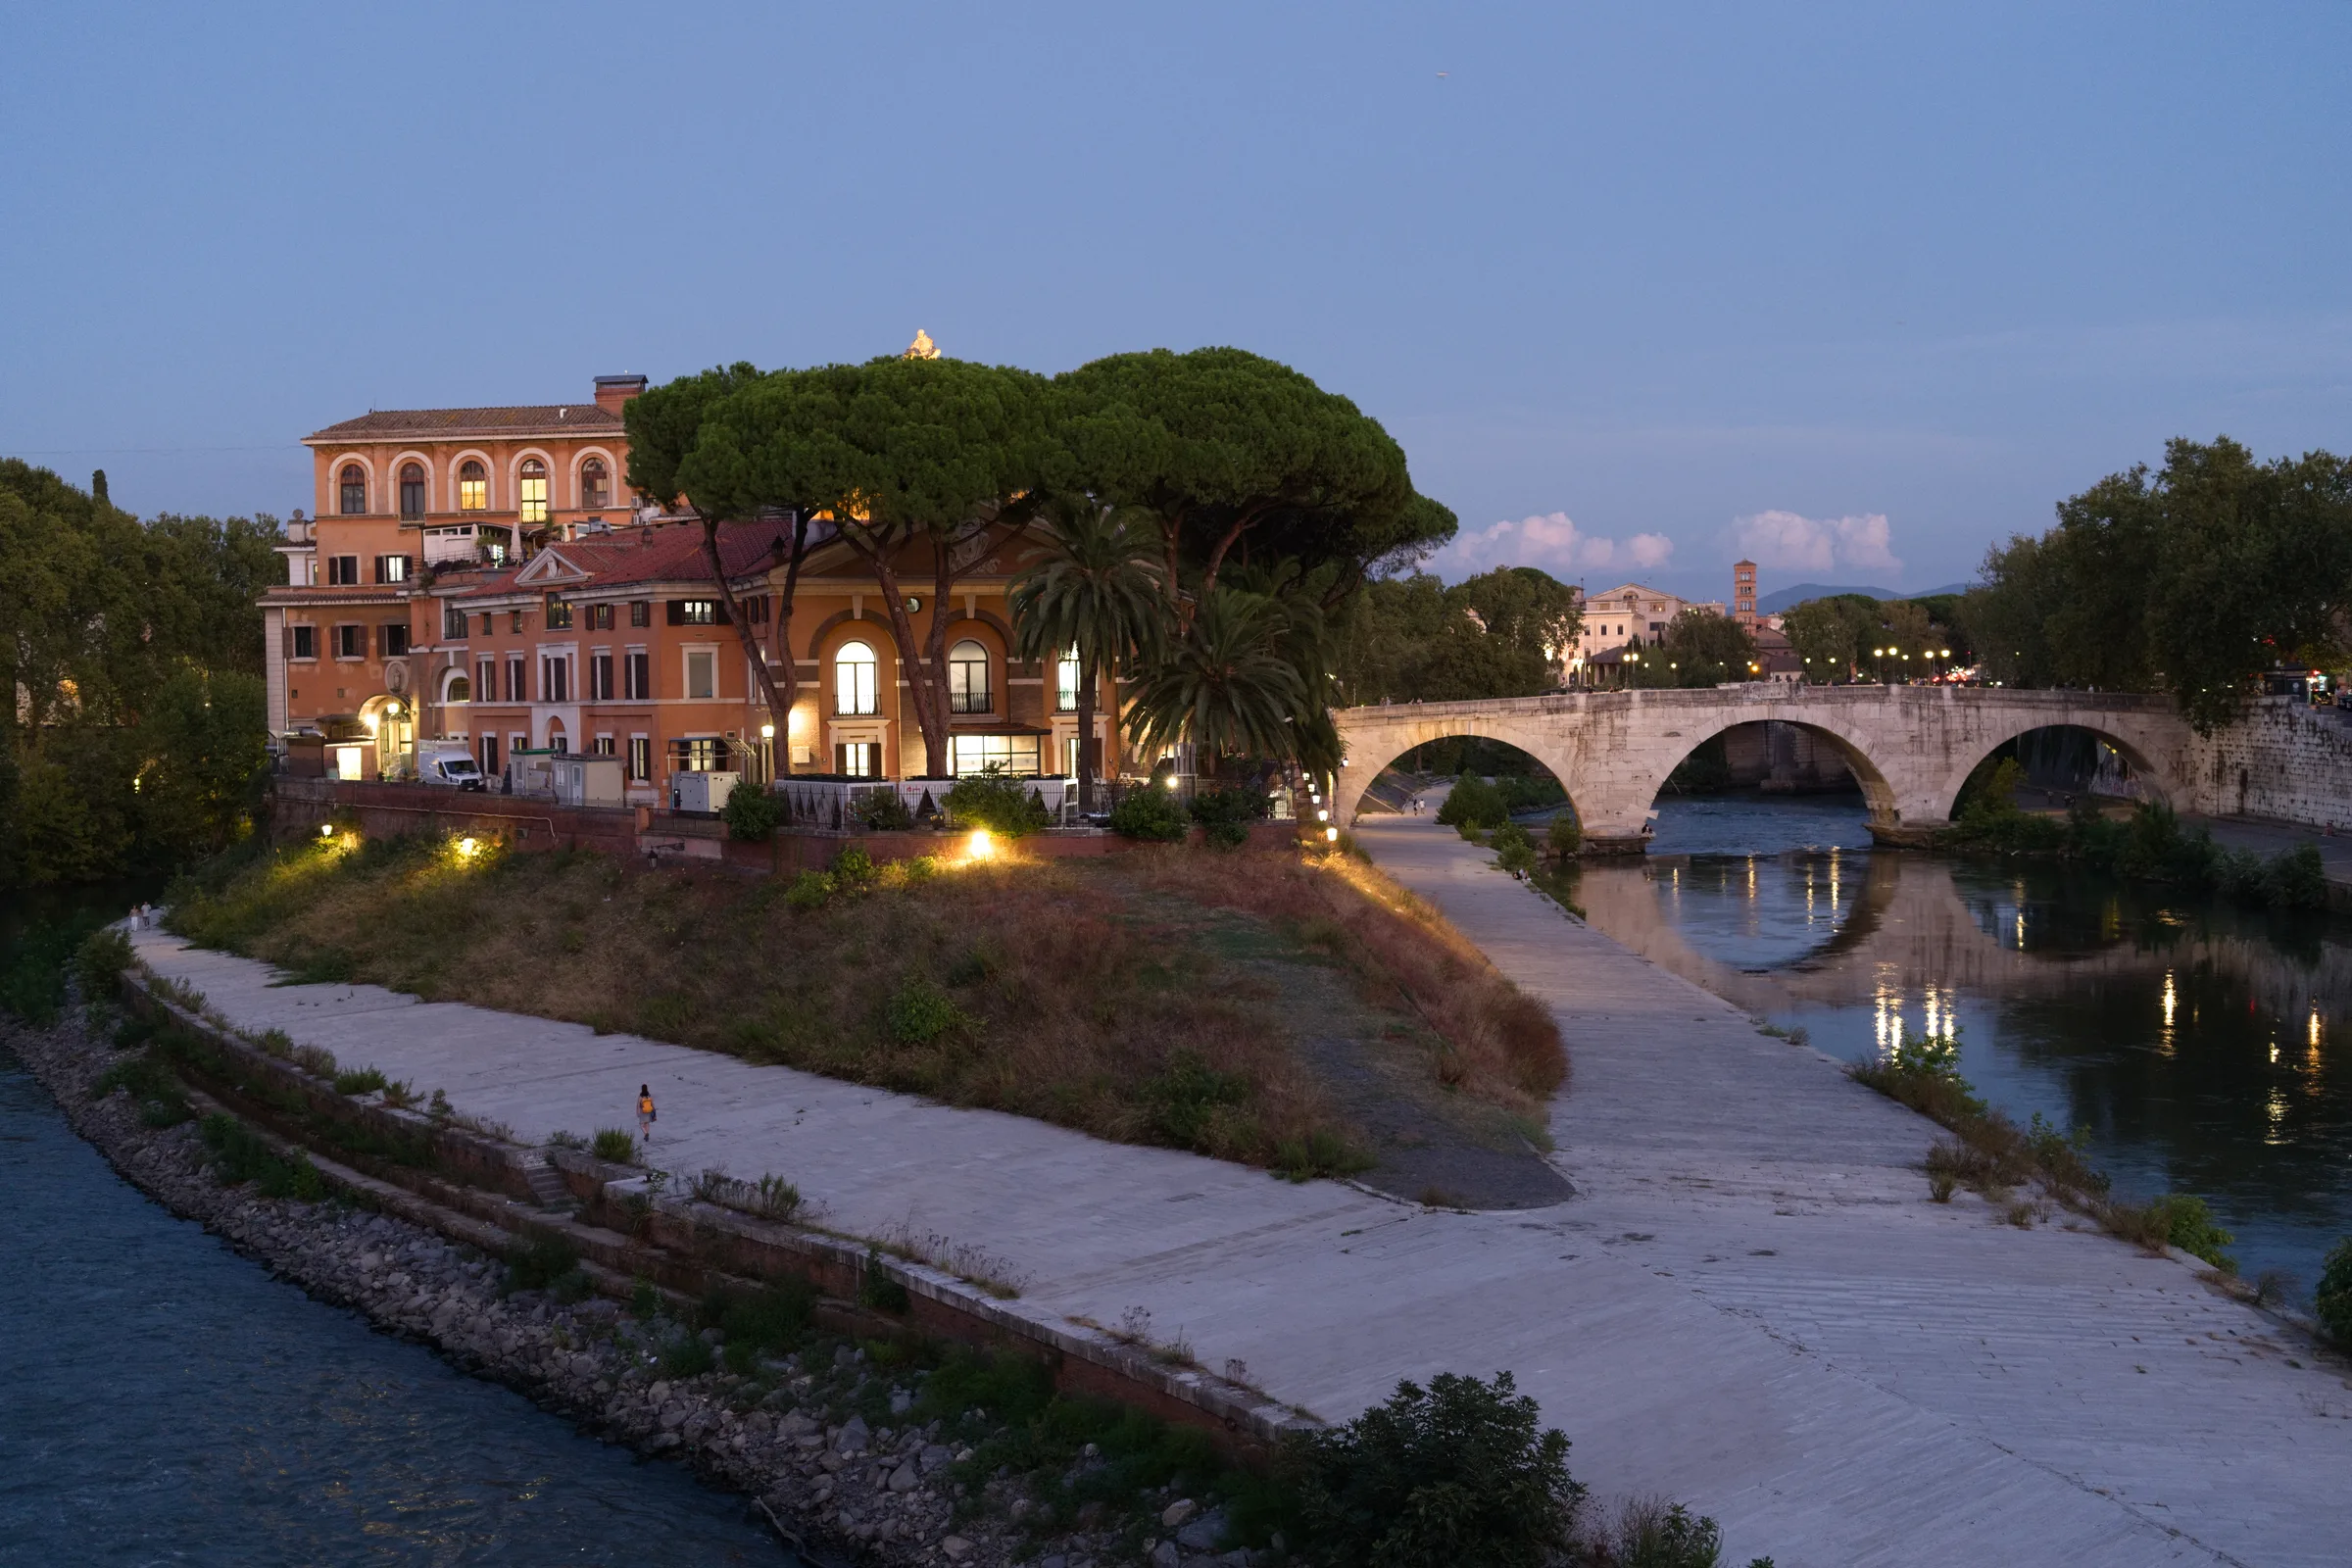
A LUT looks at each pixel on its own and swaps its colour. Real film doesn’t work like that: light spreads through the emulsion, highlights glow, grain follows exposure and neighbouring tones pull on each other. Negs simulates all of it, so the look holds up where LUTs fall apart: skin, neon, deep shadows, bright skies.
 Ektar 100 LUT
Negs · Ektar 100
Drag to compare. Both on Kodak Ektar 100: a film LUT on the left, Negs on the right.
10 ▸ CREDITS
The film model at the heart of Negs comes from two open-source projects. Negs builds fast apps on top of them: in the browser, and native on Mac, Windows and Linux.
11 ▸ DOWNLOAD
Free · Mac, Windows and Linux
macOS 14 Sonoma or later · Apple silicon and Intel
Open the downloaded .dmg and drag Negs into the Applications folder.
Double-click Negs. macOS says it can’t verify the app and won’t open it. Click Done (not Move to Trash).
Go to System Settings → Privacy & Security, scroll down and click Open Anyway next to the message about Negs. Enter your password, then click Open.
Why the extra step? Negs isn’t notarized by Apple, which needs a paid developer account, so macOS asks you to allow it yourself the first time. Negs then updates itself: use Negs → Check for Updates….
Windows x64 · Experimental: the same film engine and GPU previews as the Mac app
It installs for your Windows account and adds Negs to Open with, without changing your default photo app.
Click More info → Run anyway. Negs isn’t code-signed, which needs a paid certificate.
Extract the portable .zip and run Negs.exe. Keep the helper executables and the data folder beside it.
Windows doesn’t update itself yet: download the newer installer and run it over the old one.
x86_64 · Native GTK4 app · Vulkan driver for GPU acceleration, CPU fallback without one
For any distribution with Flatpak. Download the bundle above, then run this in your download folder:
flatpak install --user negs-0.11.0-linux-x86_64.flatpak
Flatpak fetches the GNOME runtime from Flathub if needed. Negs runs sandboxed and sees only the photos and folders you open. Use Open Folder… to see a whole folder in the film strip. To update, install the newer bundle the same way.
A single file for Ubuntu 24.04 or newer, current Fedora, Arch and similar distributions. Download it above, then make it executable and run it from your download folder:
chmod +x Negs-0.11.0-x86_64.AppImage
./Negs-0.11.0-x86_64.AppImage
No installation needed. If your system has no FUSE, add --appimage-extract-and-run to the run command. To update, download the newer AppImage. Settings and presets stay in ~/.config/negs.
Or install the native package under ~/.local, no root needed. This command downloads the latest release and checks its SHA-256 checksum. Read the script first if you like: it’s short.
curl -fsSL https://raw.githubusercontent.com/noahhaasis/negs/main/linux/get-negs.sh | sh
Needs glibc 2.44, GTK 4.16+, libadwaita 1.6+, OpenBLAS and a Vulkan driver. On Omarchy these are normally present; elsewhere: sudo pacman -S --needed gtk4 libadwaita openblas vulkan-icd-loader. On distributions with older glibc, use Flatpak or AppImage instead.
Run negs or find it in your launcher. To update, run the command again. To remove it: python3 ~/.local/share/negs/install.py --uninstall
Flatpak keeps settings and presets separately, in ~/.var/app/io.github.noahhaasis.negs. To move presets between Flatpak and the other versions, export them from one and import them in the other.
Yes. It’s free to download and open source under the GPL-3.0 (see the licence).
Both show that warning for apps that aren’t notarized (Apple) or code-signed (Windows), which needs a paid account or certificate. The source is on GitHub for anyone to check. Follow the Mac or Windows install steps: you only need to allow it once.
RAW files from most cameras, plus JPEG, TIFF and PNG. The Mac app uses Apple’s RAW support with a fallback decoder; the Windows and Linux apps use the rawler decoder.
Yes, on Intel Macs that run macOS 14 or later. Negs is a universal app, so it runs natively on both Intel and Apple silicon. It is developed and tested mainly on Apple silicon, so if something looks wrong on an Intel Mac, please open an issue.
No. Presets and LUTs remap colours. Negs simulates the film, the paper and the light, which is why halation, grain and edge effects come out right.
Any recent browser, at getnegs.com/try: nothing to install, and your photos never leave your device. As a desktop app: macOS 14 or later (Apple silicon and Intel), Windows x64 with an installer or a portable build, and x86_64 Linux as a Flatpak, an AppImage or a native Arch/Omarchy package.